What are 3 Part Cards?
There are a few different ways in which 3-part cards are most commonly used in the Montessori world. The most frequent is teaching about science or cultural topics. The idea is to take a subject and dissect it into “types of” or “parts of,” or they can be helpful when learning the life cycle of an animal! Each dissected part (or specific type, part, or stage in a life cycle) is broken down into three cards:
Control Card- picture and word on one card
Picture Card- contains only the same picture as the control card
Word Card- includes the same word in the same font and size as the control card
The pictures should be as life-like as possible, so the child receives the best understanding of the subject they are learning. Each word is printed in the most basic lowercase font, reflecting how the child will be guided later to write letters.
How Do I Use Them?
1) Lay out the Control Cards
You Can use three-part cards in various stages. The first stage is to use only the control card with the picture and word as flashcards. You can set these in front of your child, pointing to and naming them. Typically, when laid out, they are side by side with space in between in a horizontal line. Try starting with three, adding 2-3 more, and finally incorporating all the control cards.
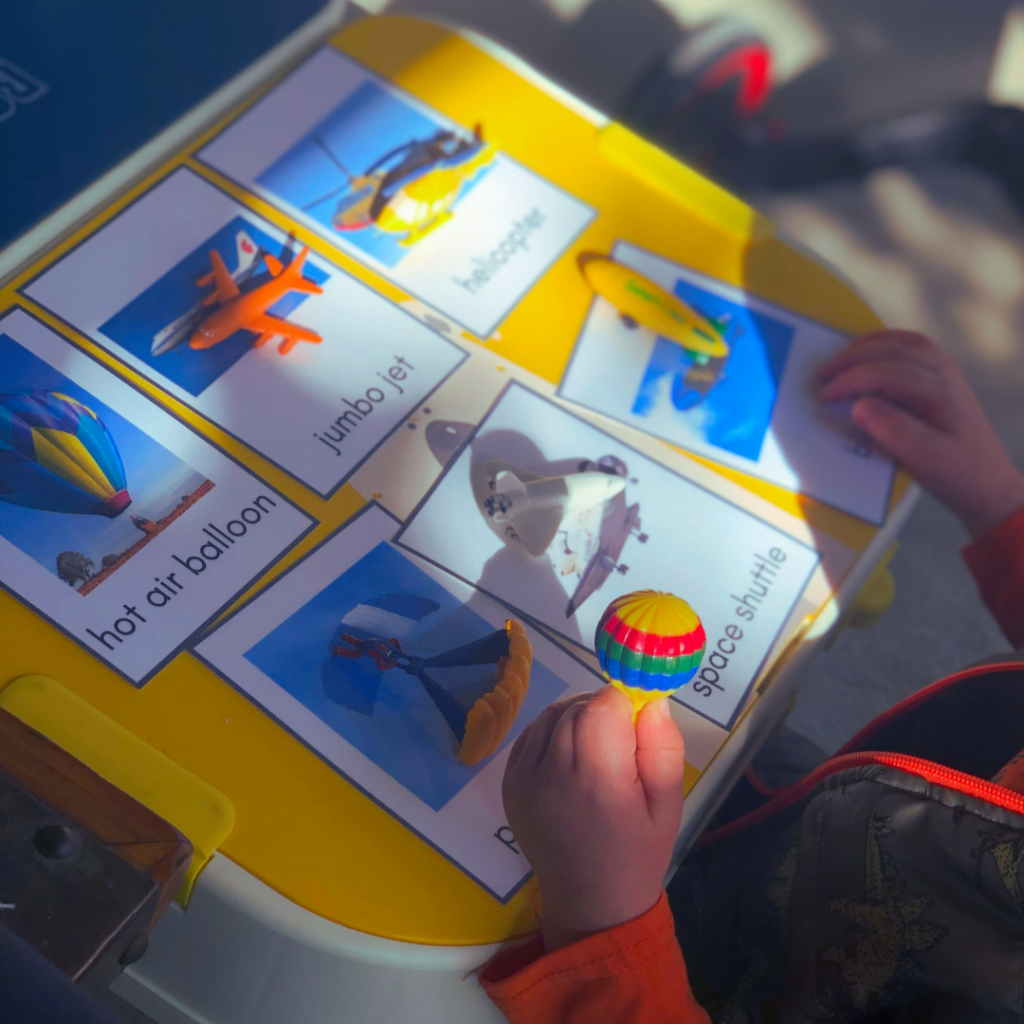

A fantastic addition to using just the control cards at the beginning is the addition of small figurines that match each picture. My favorite resources for the figurines are the Safari Toob or the Wild Republic Tubes (they can be found on my Amazon lists or at your local craft store). Using the figurines will add to their hands-on learning experience, helping them to retain the information. It allows for a sensorial experience of the world they are learning about, making the subject more tangible and realistic.
2) Match with the Picture Cards
Once they are familiar with setting the cards out, introduce the picture card. They match the picture to the control card, placing it below. I find when they are first using the picture cards, the concept of matching all the picture cards to the control can be overwhelming. I usually aid in this by holding the picture cards closer to me and handing the cards to them one by one. Go slow. Give them a moment to observe what they are doing. They will return to you when they are ready for the next one. One way to give them control over the picture cards is to observe their readiness and then invite them by saying, “do you think you can keep the cards but take only one card at a time?” The first few times might look rough- they are learning. New things can be challenging.
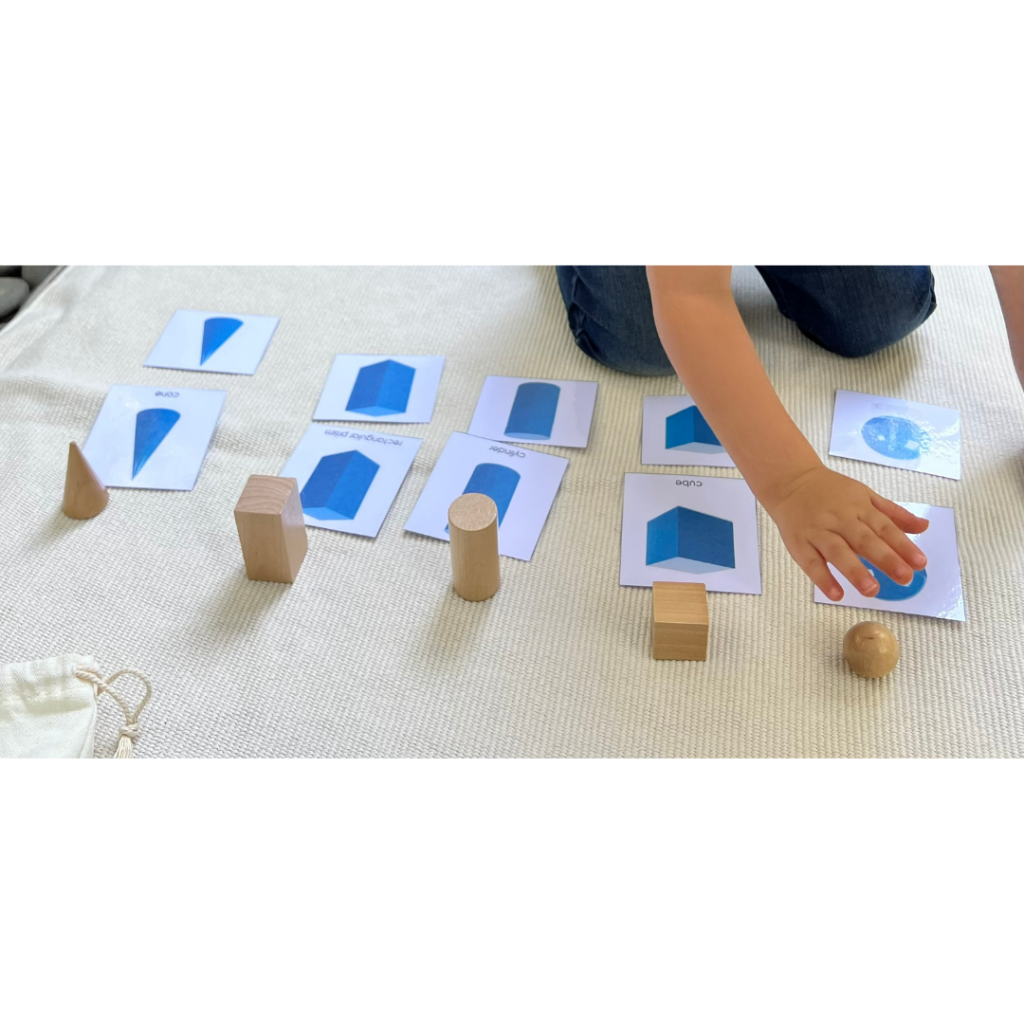
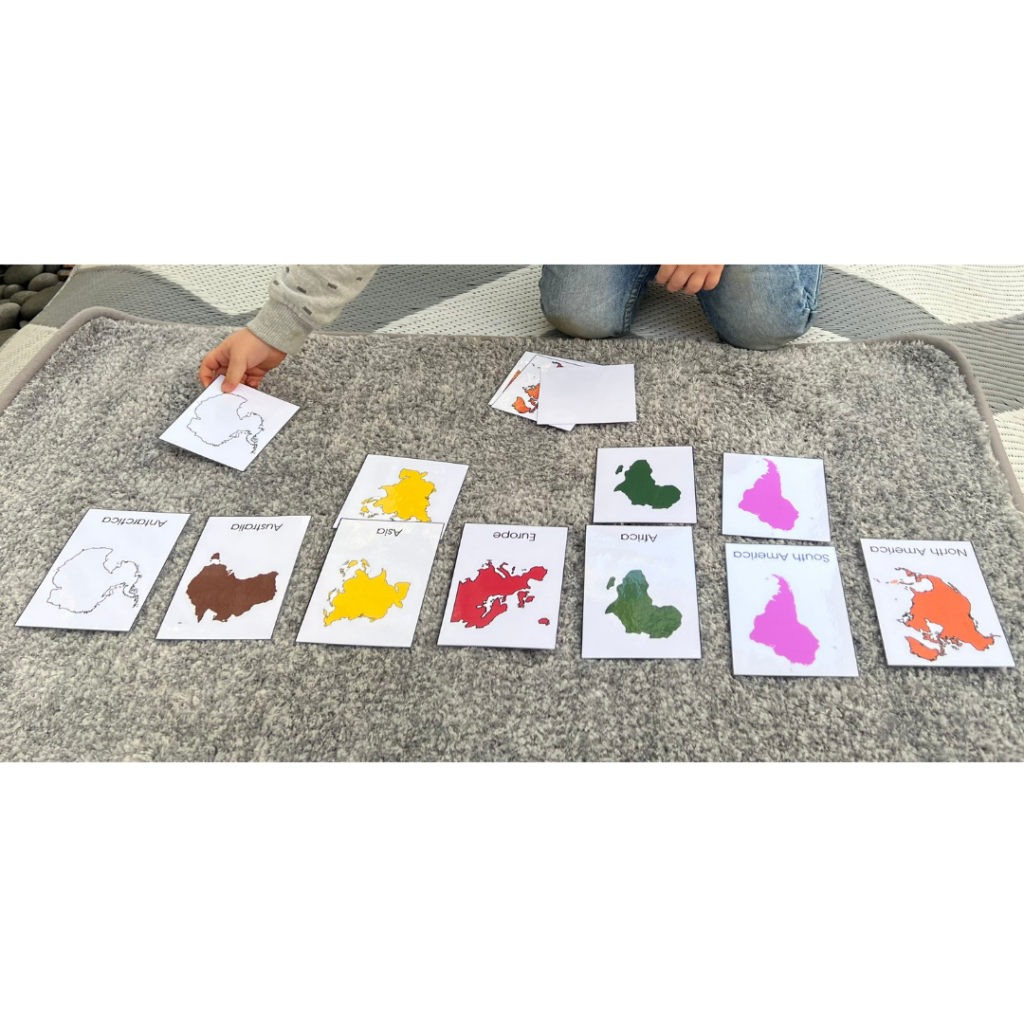
Matching the picture cards allows them to work with memory, practice their matching skills, and learn about the topic in a way they can control.
3) Match the word card
The third step to the 3-part cards is to add the word card. After laying out all the control cards and matching each picture card, they will add the word cards. They do not need to know how to read for this step. They will match the words the same way they match the pictures. The letters themselves don’t necessarily mean much to them right now. They are just shapes. However, they are being exposed to the letters and will not only get comfortable with how they look but will begin to understand the letters represent the sounds that make up each word. Eventually, when they learn about letter sounds, you can help them match by reminding them of the beginning sound- “which sound is at the beginning of this word?” or “this word starts with a _. Which picture starts with a _?” The questions you ask out loud will be a skill they will later learn to cue themselves during independent work.
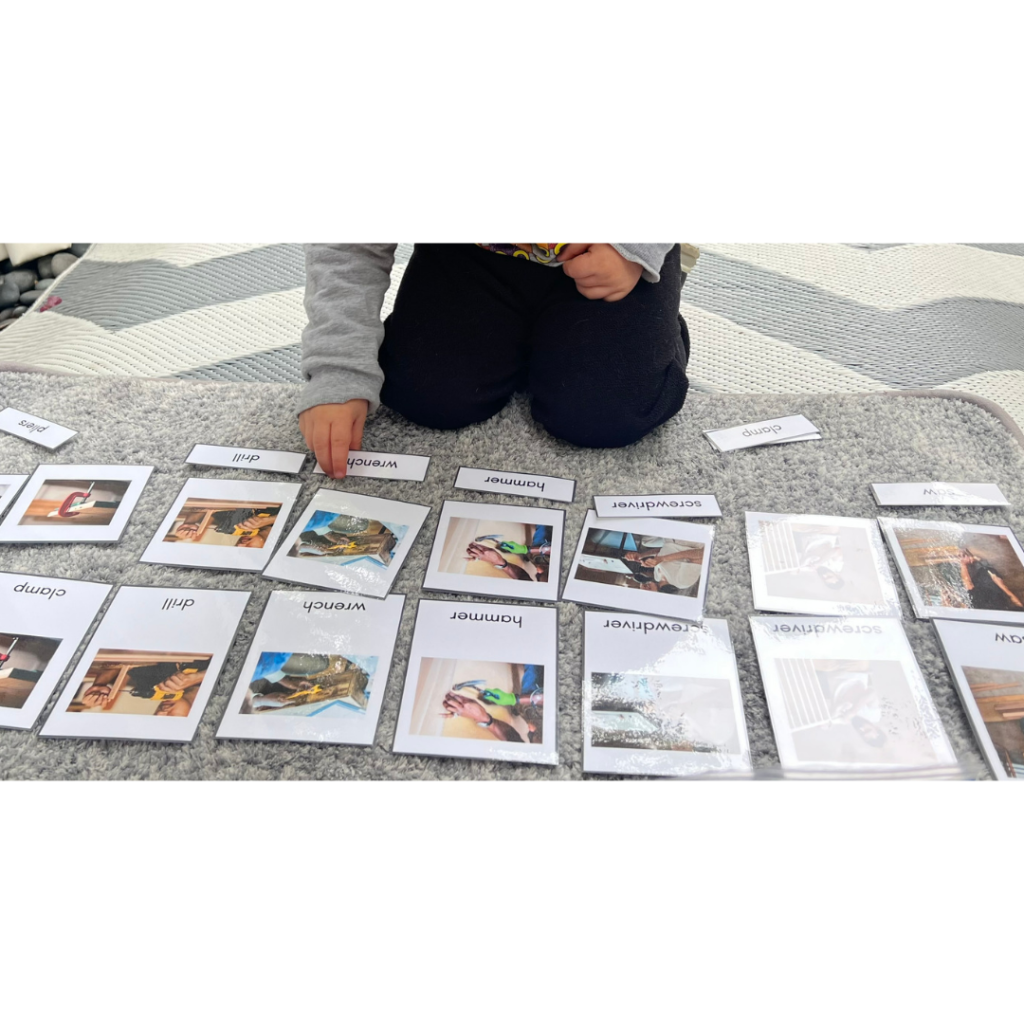
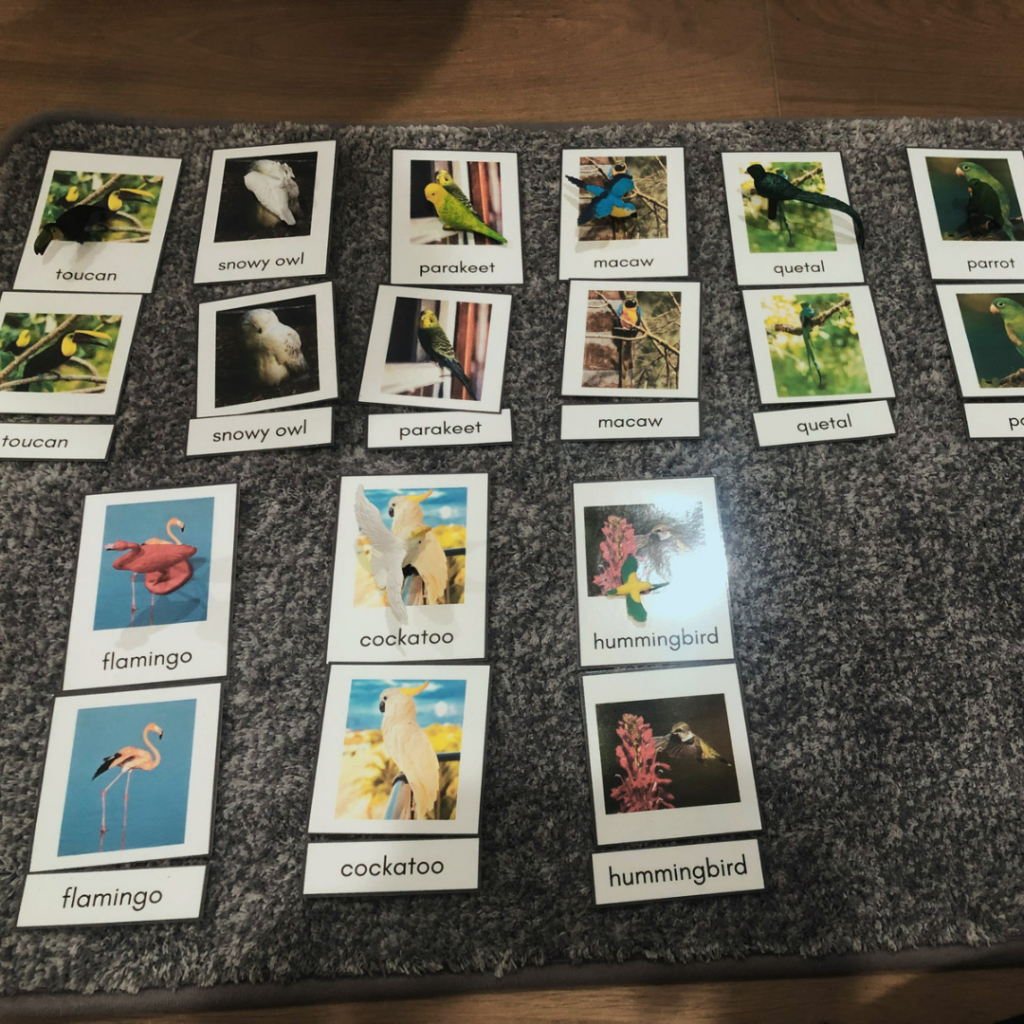
You can incorporate 3-part cards into your learning time together in several ways. And they can help you teach any subject! Get creative and see what your child enjoys the most about them. You will begin to see a routine emerge for these cards, which will comfort and guide the child each time you present a new set. Enjoy learning together!
